This guide provides a clear, step-by-step walkthrough for setting up Single Sign-On (SSO) with Okta in Secure Privacy. The Okta SSO integration lets administrators manage user access to multiple applications through a single, secure login — streamlining authentication while maintaining tight control over who can access your Secure Privacy account.
Important: Only Okta members who are already added to your Secure Privacy account (visible on the Users page) will be permitted to log in via Okta SSO. Okta members not found in Secure Privacy will be blocked from access.
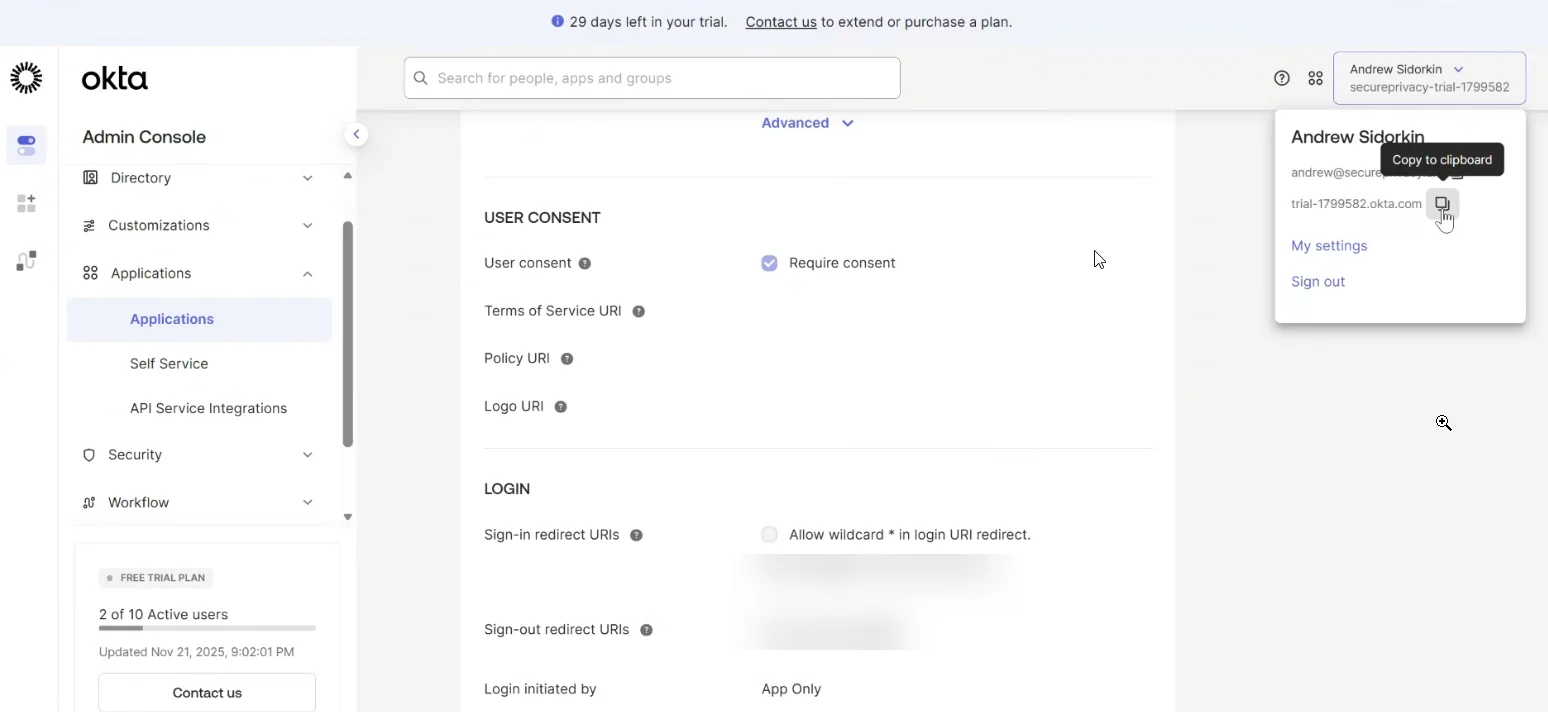
Step 1: Locate Your Okta Organization Domain
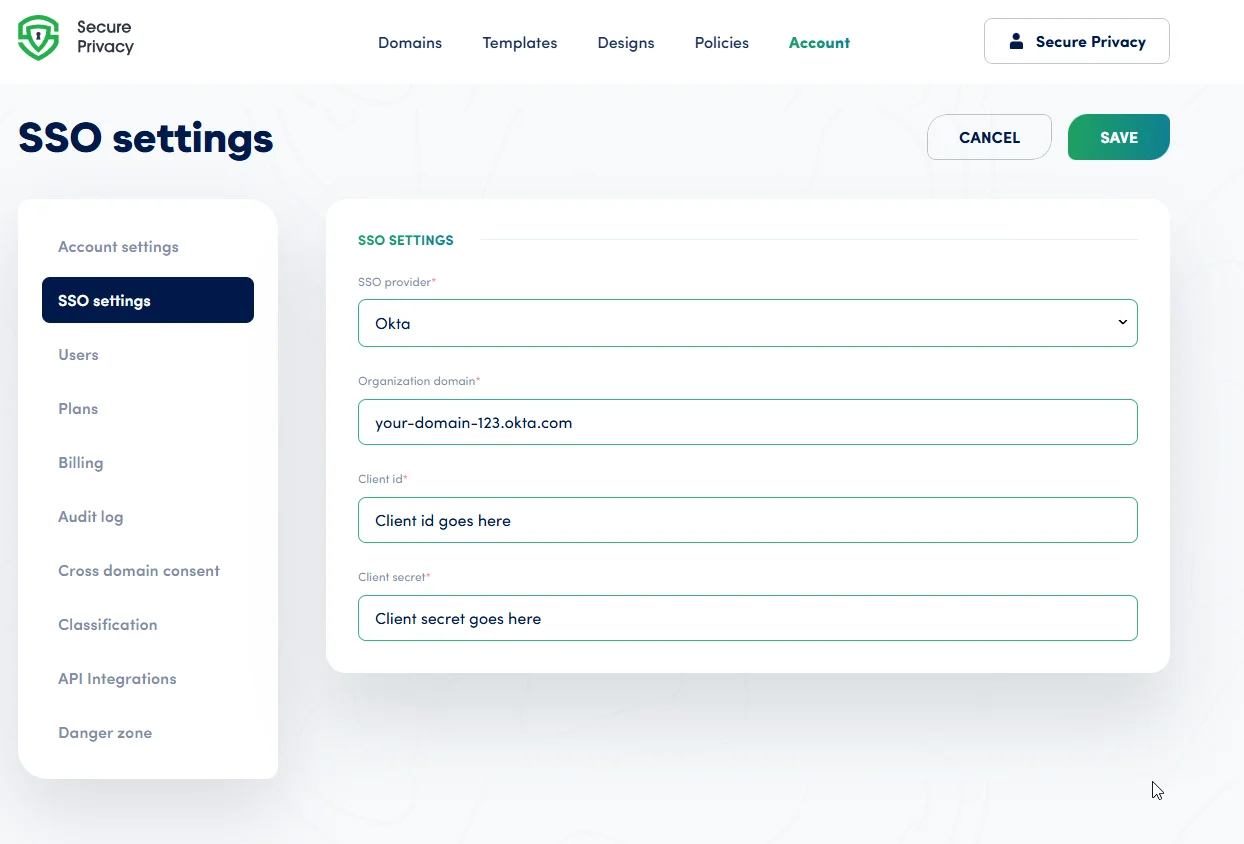
Find your Okta domain in the header dropdown menu within your Okta admin account. Copy it and paste it into the Organization domain field in Secure Privacy's SSO settings.
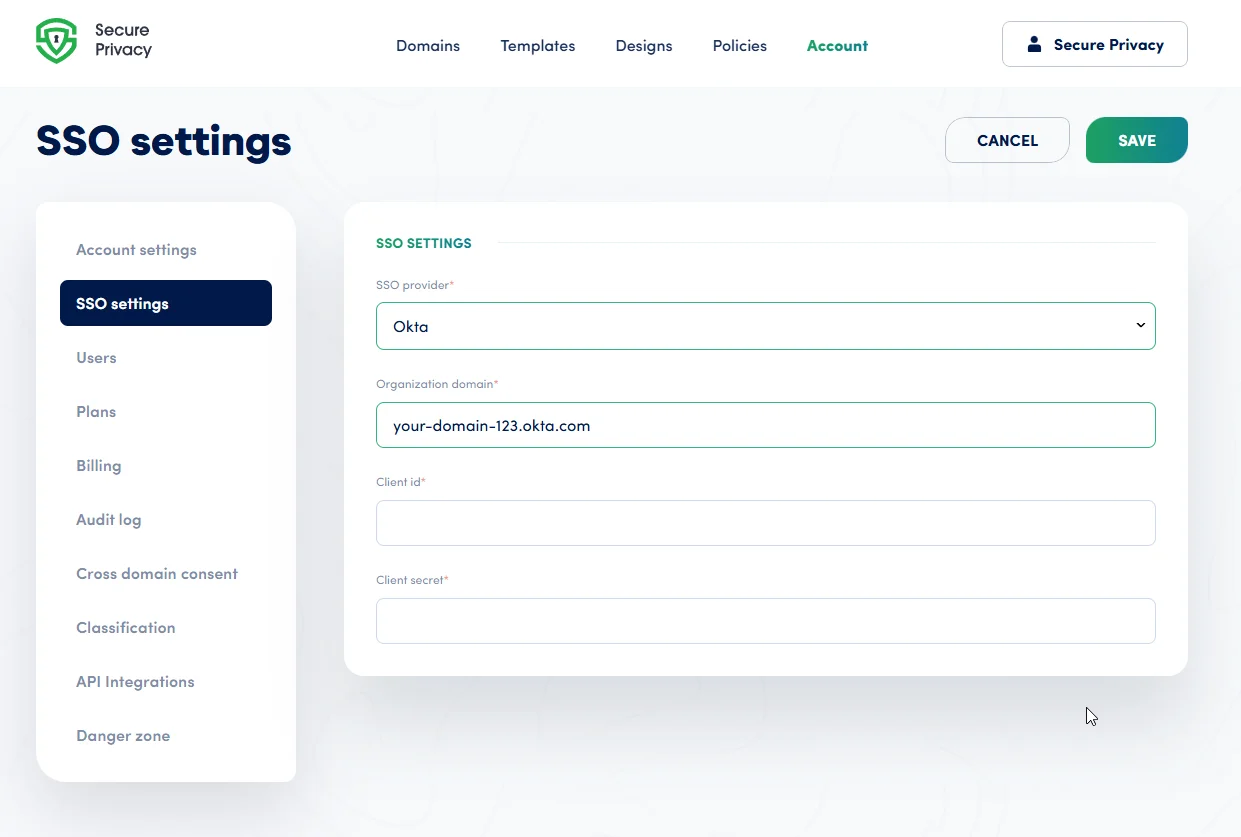
Paste the domain into the corresponding field in Secure Privacy, as shown below:
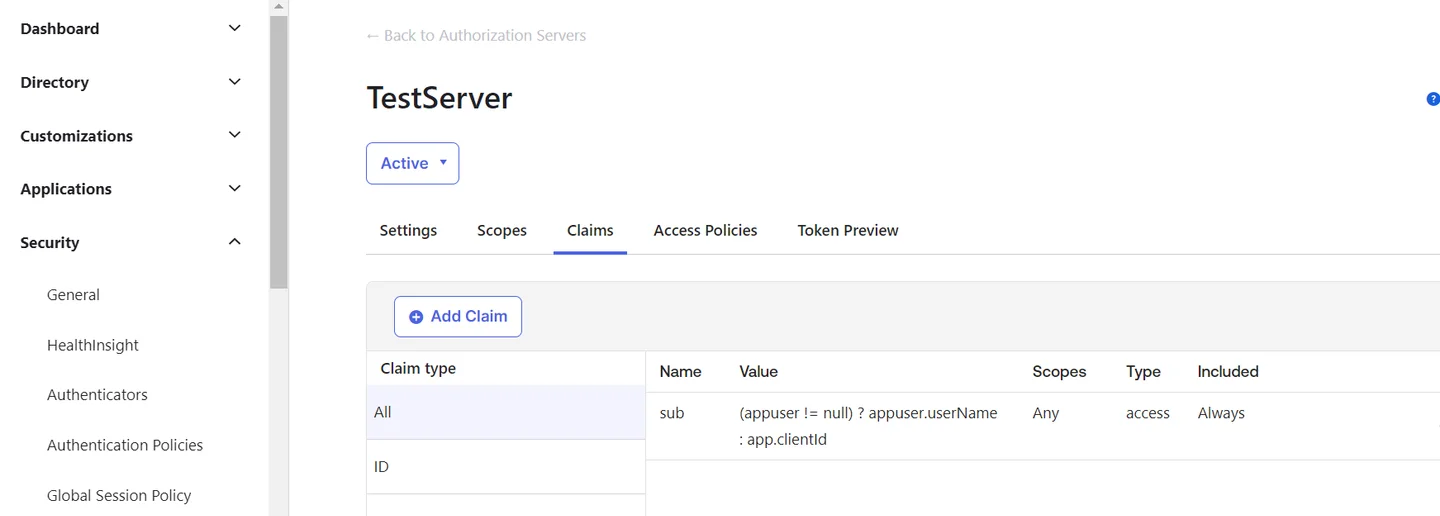
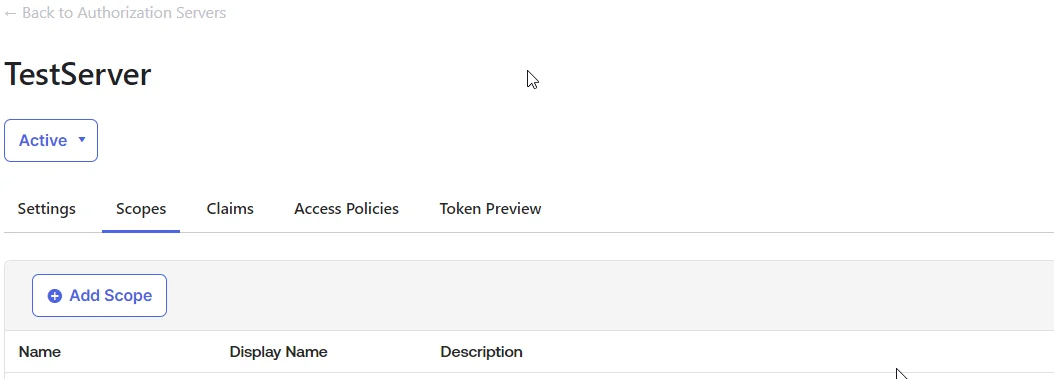
Step 2: Create an Authorization Server in Okta
In your Okta admin console, navigate to Security → API → Authorization Servers and create a new Authorization Server.
Note: This step is optional if you prefer to use your organization's default authentication server. However, creating a custom authorization server is the recommended approach for better scope and claims control.
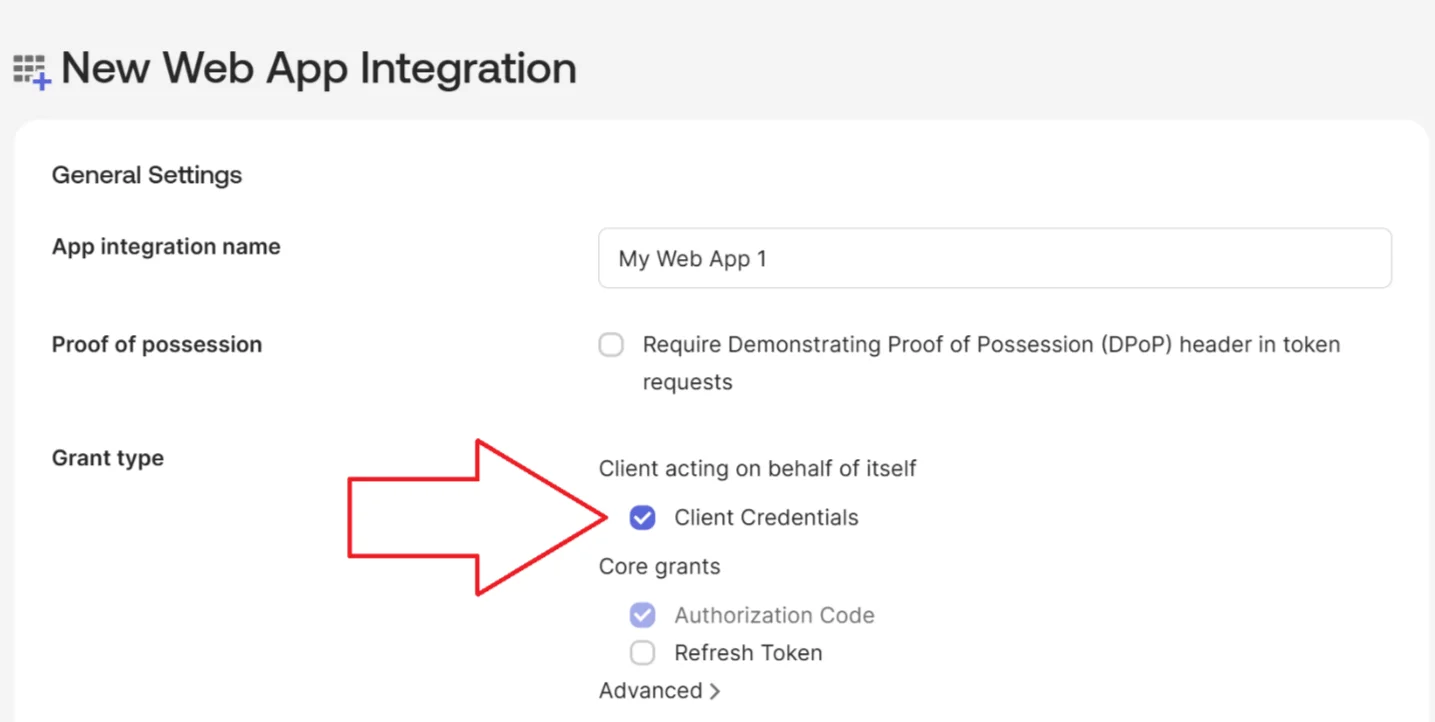
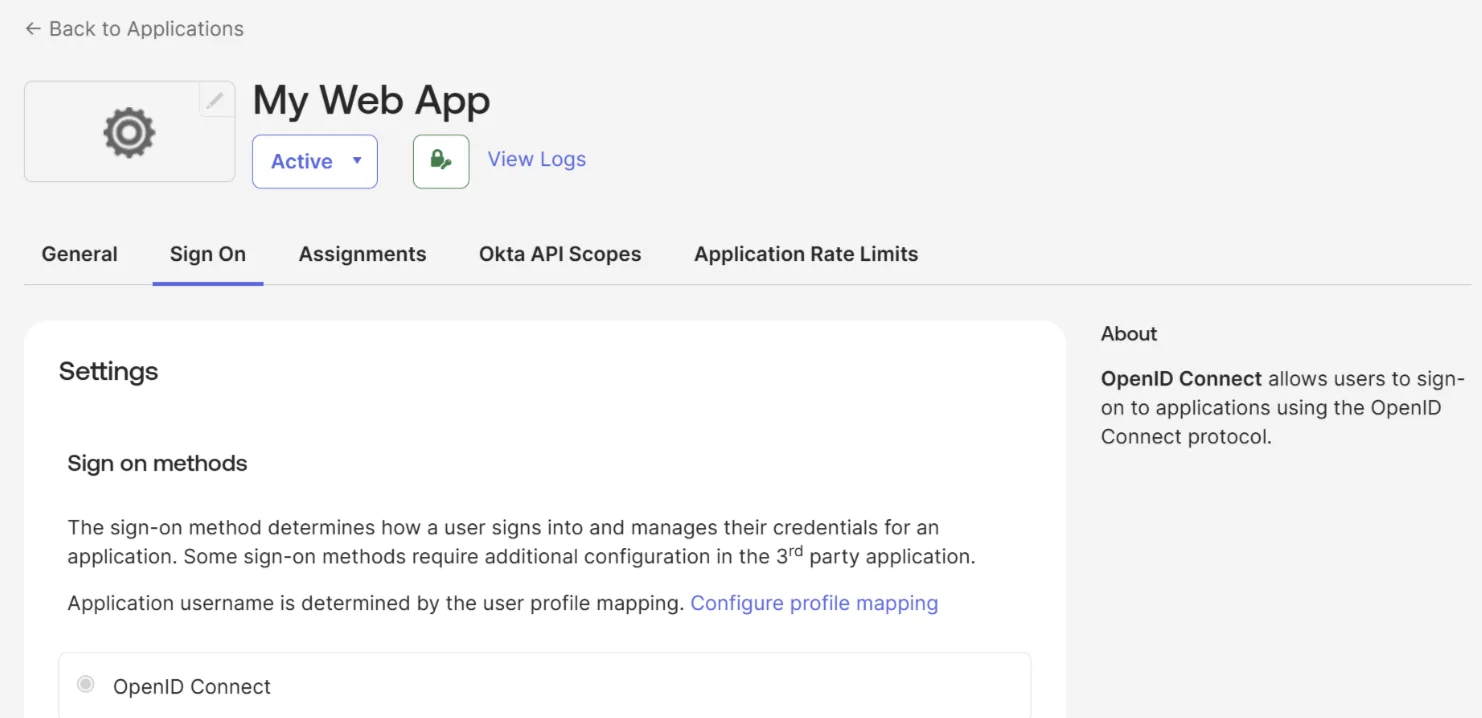
Step 3: Create and Configure an OIDC Web Application in Okta
Under Applications in Okta, create a new app integration for Secure Privacy:
- Select OIDC – OpenID Connect as the sign-on method and Web Application as the application type.
- Optionally enable Client Credentials grant type if required by your organization.
- Set the Sign-in redirect URI to exactly:
https://cmp.secureprivacy.ai/callback(no trailing slash).
Confirm the sign-on method is set to OpenID Connect:
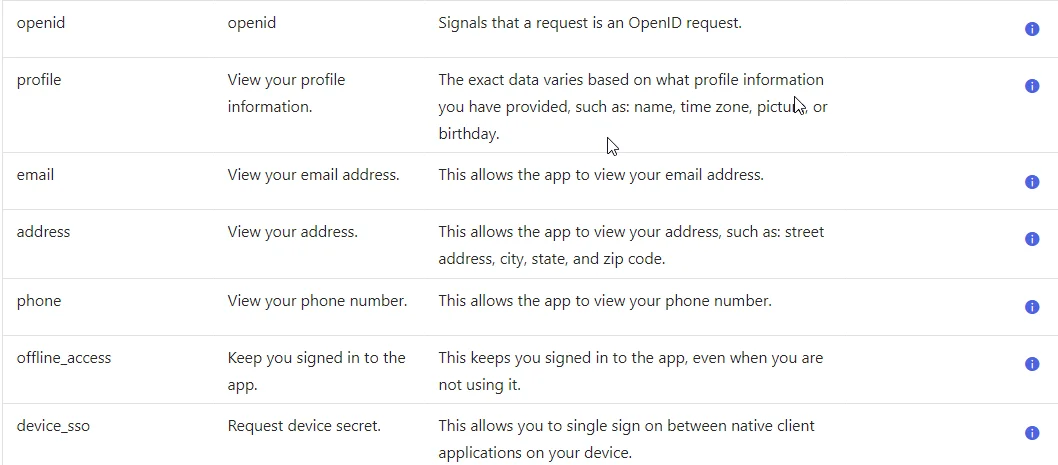
Ensure all required OAuth 2.0 Scopes are enabled. These are pre-selected by default unless you have previously reconfigured them:
Finally, copy the Client ID and Client Secret from your Okta app and paste them into the corresponding fields in Secure Privacy's SSO settings:
Step 4: Complete the Okta SSO Setup
Once all fields are saved, your Okta users can log in to Secure Privacy using their existing Okta credentials. No separate Secure Privacy password is required for SSO-enabled users.
Common Okta SSO Issues & Fixes
- Authorization Server Configuration Errors
- Double-check your Okta Authorization Server settings, including all configured scopes and claims. Ensure the correct server is selected and that the issuer URI matches what is entered in Secure Privacy.
- Invalid Redirect URI Error
- Ensure the redirect URI in Okta matches exactly
https://cmp.secureprivacy.ai/callback— with no trailing slash and no variation in casing. - Users Unable to Log In via SSO
- Confirm that the affected users have been added to your Secure Privacy account on the Users page and have been assigned the appropriate application in Okta. Both conditions must be met.
Frequently Asked Questions
Can I use Okta SSO without creating a custom authorization server?
Yes. Creating a custom authorization server is recommended for granular control, but you can use your organization's default Okta authorization server if preferred.
What happens if an Okta user is not in Secure Privacy?
Okta members who are not already added to your Secure Privacy account will be denied login, even if they are valid Okta users. You must first add them on the Secure Privacy Users page.
Which sign-on method does Secure Privacy use with Okta?
Secure Privacy uses OpenID Connect (OIDC) for Okta SSO integration. Make sure the OIDC sign-on method is selected when creating the Okta app integration.
Is Okta SSO available on all Secure Privacy plans?
SSO availability depends on your Secure Privacy subscription plan. Contact Secure Privacy support if you are unsure whether SSO is included in your current plan.