Adding custom CSS to your Secure Privacy cookie banner and preference center lets you align the consent UI with your brand identity — going beyond the default design templates to create a cohesive, visually consistent user experience. This guide walks through how to access and apply custom CSS in the Designs section of your Secure Privacy dashboard.
We recommend involving web development professionals to ensure your CSS is conflict-free and does not interfere with banner functionality.
Who Is This For?
Web designers applying brand-consistent styling to the Secure Privacy cookie banner and preference center
Marketing teams optimizing the visual appearance of cookie consent UI for user experience
Developers implementing advanced custom styles beyond what default design settings provide
Why Use Custom CSS for Your Cookie Banner?
Seamless brand integration
Custom CSS allows your cookie consent banner and preference center to match your website's typography, color palette, and visual style — so the consent UI feels like a native part of your site rather than a third-party overlay.
Advanced customization beyond default templates
While Secure Privacy's default design settings cover the most common styling needs, custom CSS gives you full control over spacing, layout, hover states, animations, and any other visual property that default settings do not expose.
Professional implementation reduces risk
Involving a web developer when writing custom CSS helps prevent conflicts with existing stylesheets, ensures cross-browser compatibility, and avoids unintended changes to banner functionality.
How to Add Custom CSS to Your Cookie Banner or Preference Center
Step 1: Log in to Secure Privacy
Log in to your Secure Privacy account at cmp.secureprivacy.ai/login.
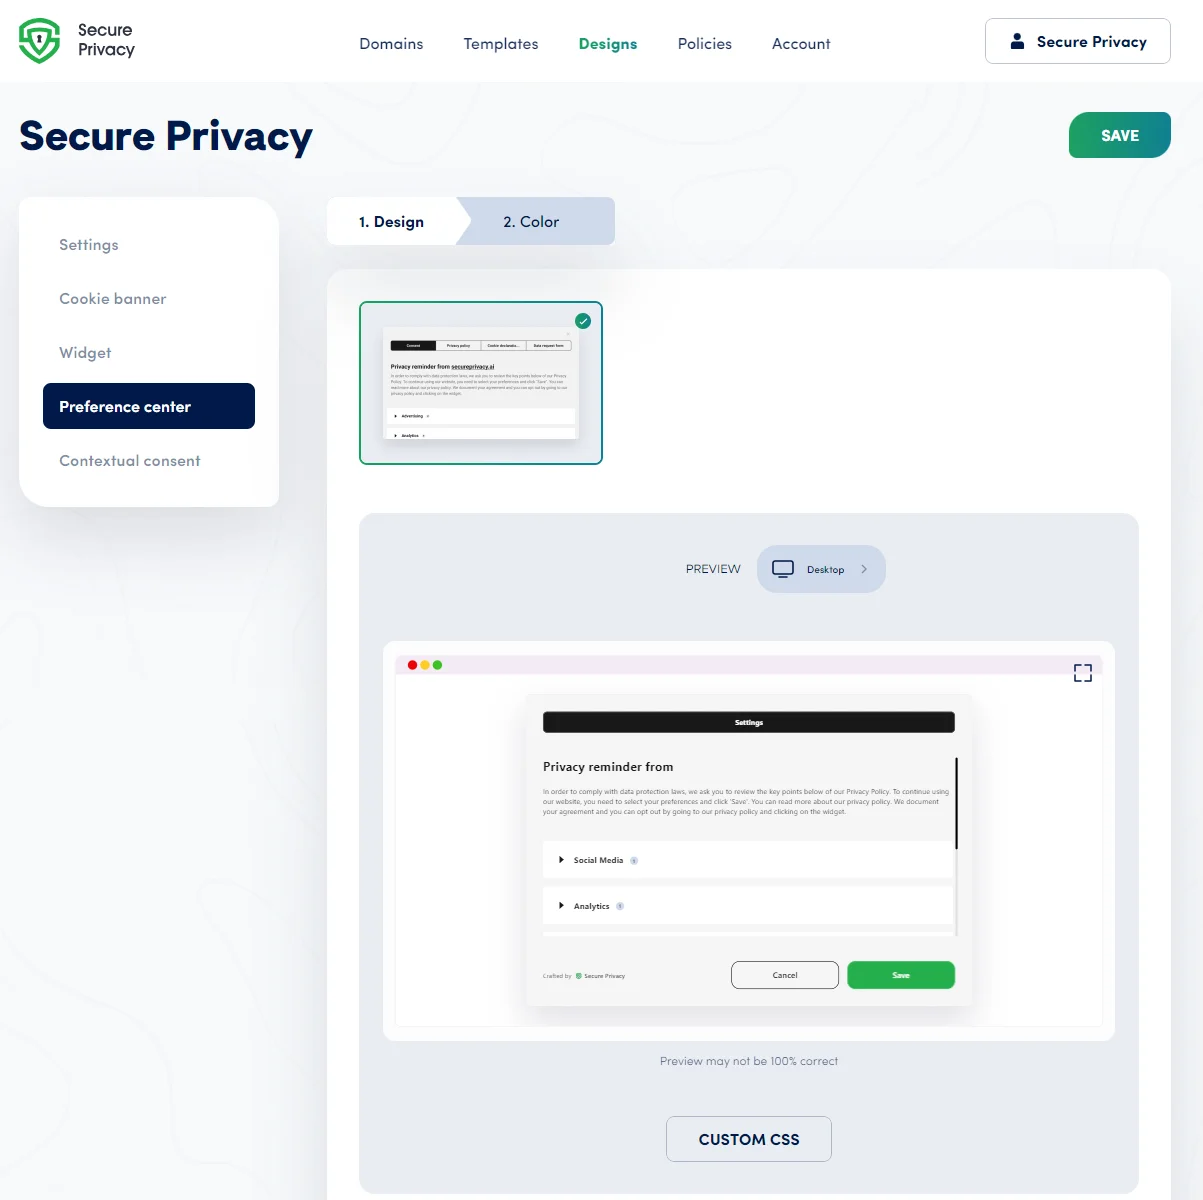
Step 2: Navigate to the Designs tab
In your control panel, click the Designs tab.
Step 3: Select the design to modify
Choose the design you want to apply custom CSS to.
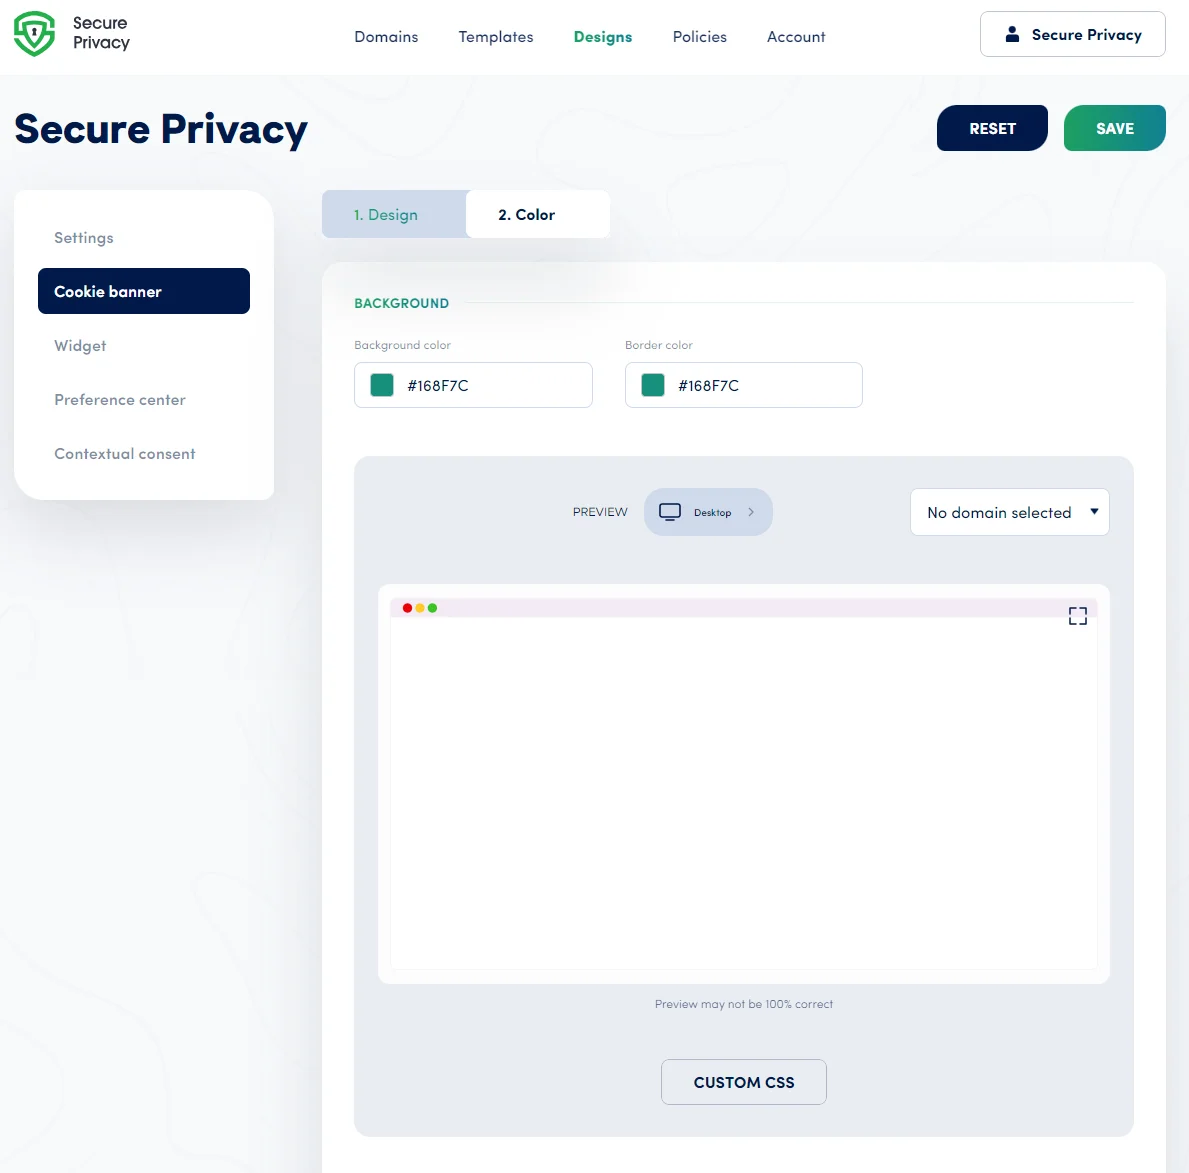
Step 4: Locate the Custom CSS section
For Cookie Banner CSS: Go to Cookie Banner settings, select Color, then click Custom CSS.
For Preference Center CSS: Navigate to Preference Center, then select Custom CSS.
Step 5: Paste and save your CSS
Paste your CSS code into the Custom CSS text area and click Save to apply the changes.
Frequently Asked Questions
Can I add any CSS without breaking banner functionality?
Custom CSS gives you full styling flexibility, but poorly written or conflicting CSS can interfere with banner display or functionality. Validate your CSS before saving, test thoroughly after applying, and involve a web developer if you are making significant layout or structural changes. Avoid overriding critical class names that control banner behavior.
When will my CSS changes appear on the live site?
Changes typically take effect immediately after saving. If the updated styles are not appearing, clear your browser cache and any CDN or site cache, then reload in an incognito window to see the latest version.
Can I add custom CSS to both the Cookie Banner and the Preference Center separately?
Yes. Custom CSS is configured independently for the Cookie Banner (via Cookie Banner > Color > Custom CSS) and the Preference Center (via Preference Center > Custom CSS). You can apply different stylesheets to each without affecting the other.