Secure Privacy's Designs feature gives you full control over the appearance of your cookie banner, widget, and preference center — from creating a new design and assigning it to domains through to customizing banner position, colors, widget style, and preference center layout. This guide walks through each step of the design setup process.
Who Is This For?
Website administrators creating and configuring Secure Privacy designs for their domains
Designers and developers customizing cookie banner position, color, widget style, and custom CSS
Compliance teams assigning specific design configurations to different domains in Secure Privacy
Step 1: Create a New Design
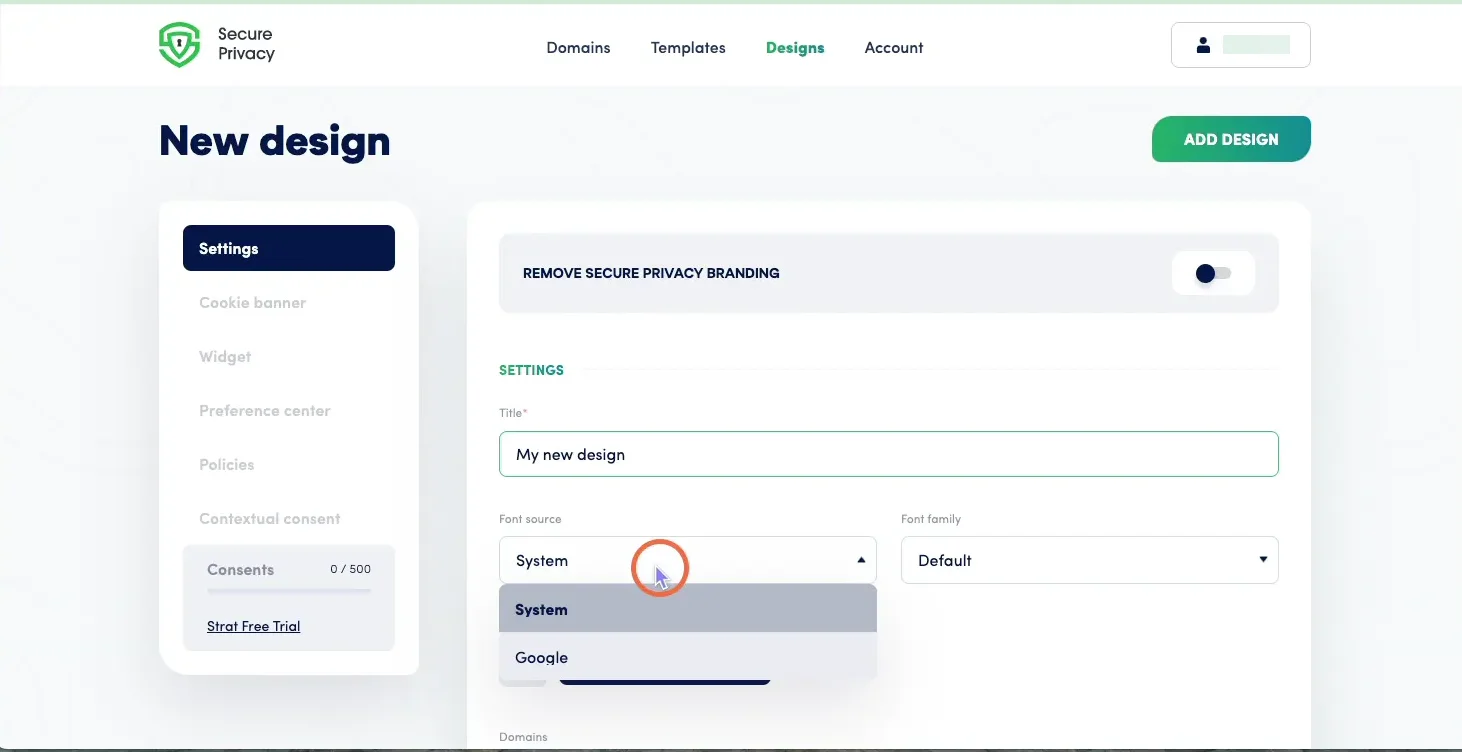
Click the Designs link in the top navigation bar of your Secure Privacy dashboard, then select Add a New Design. In the dialog that appears, you can:
Give the design a descriptive name for easy identification
Select which domains the design should apply to
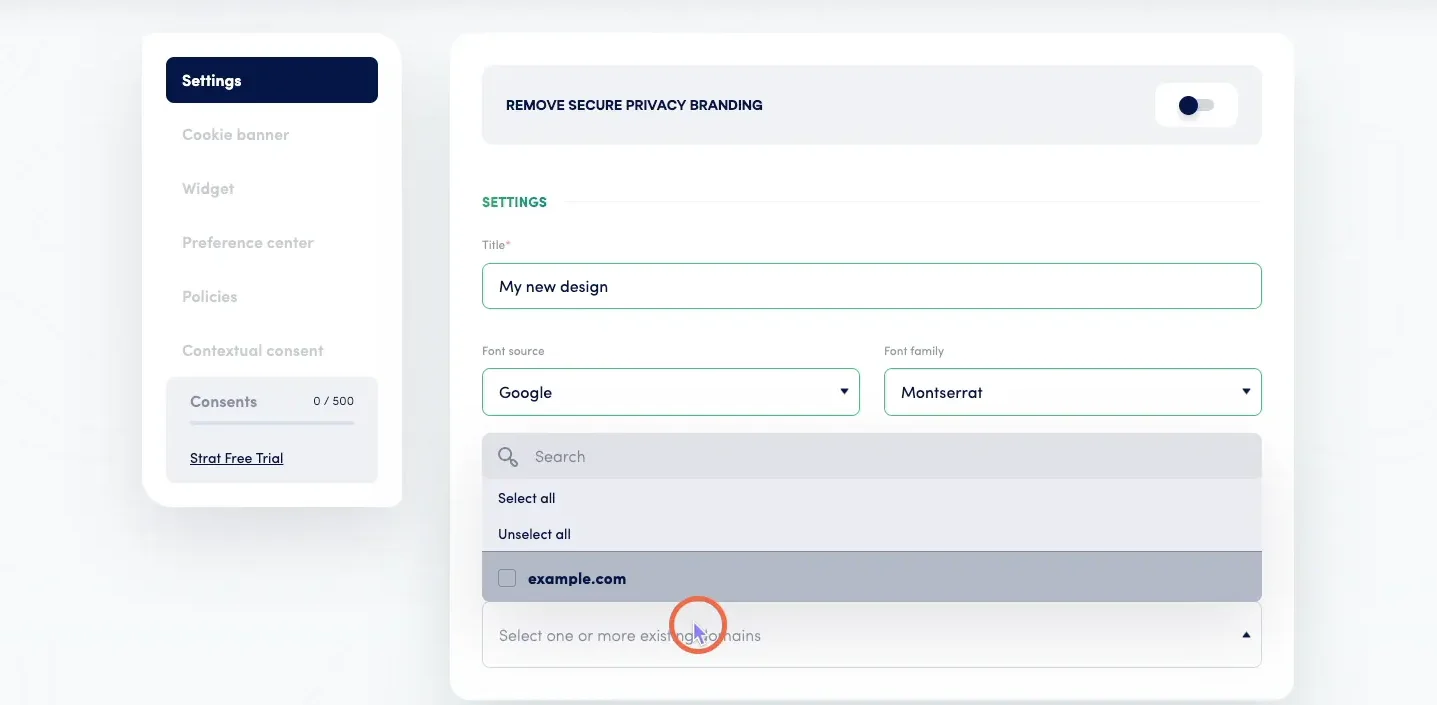
Choose a font — either from Google Fonts or the system fonts provided by Secure Privacy
Once the design is named and configured, select the domains from your account that this design should be applied to.
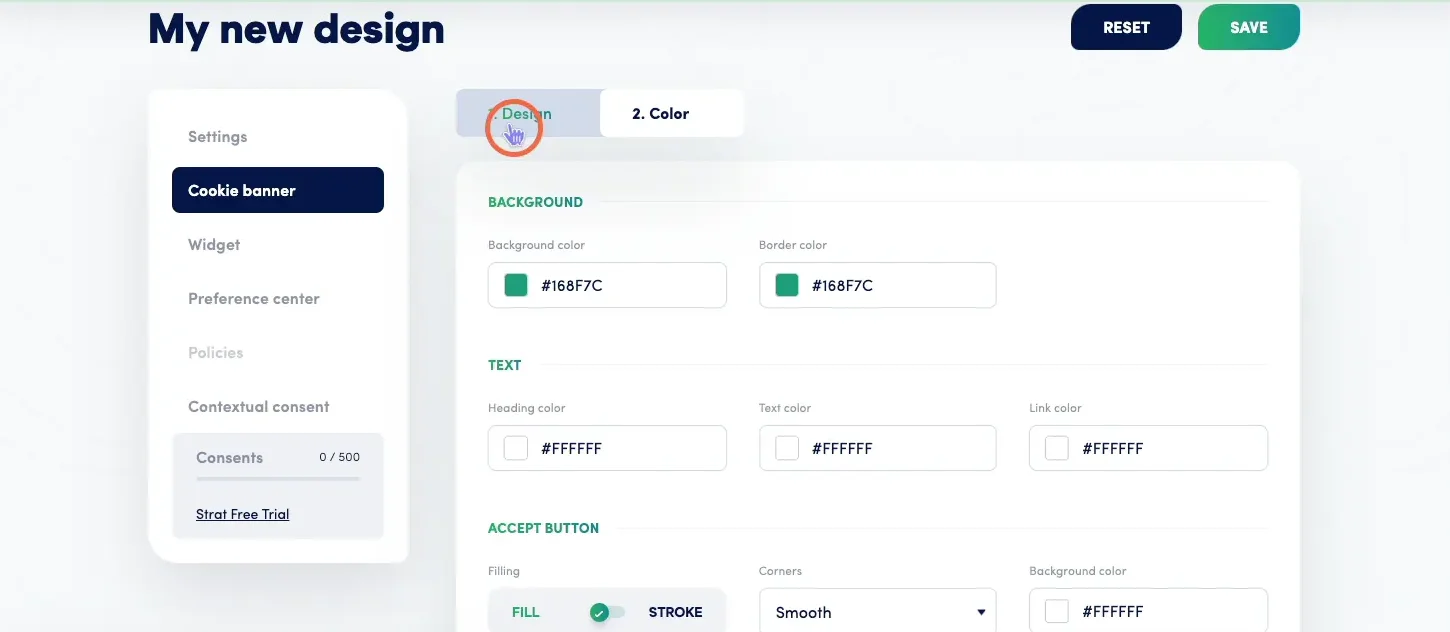
Step 2: Customize Your Cookie Banner
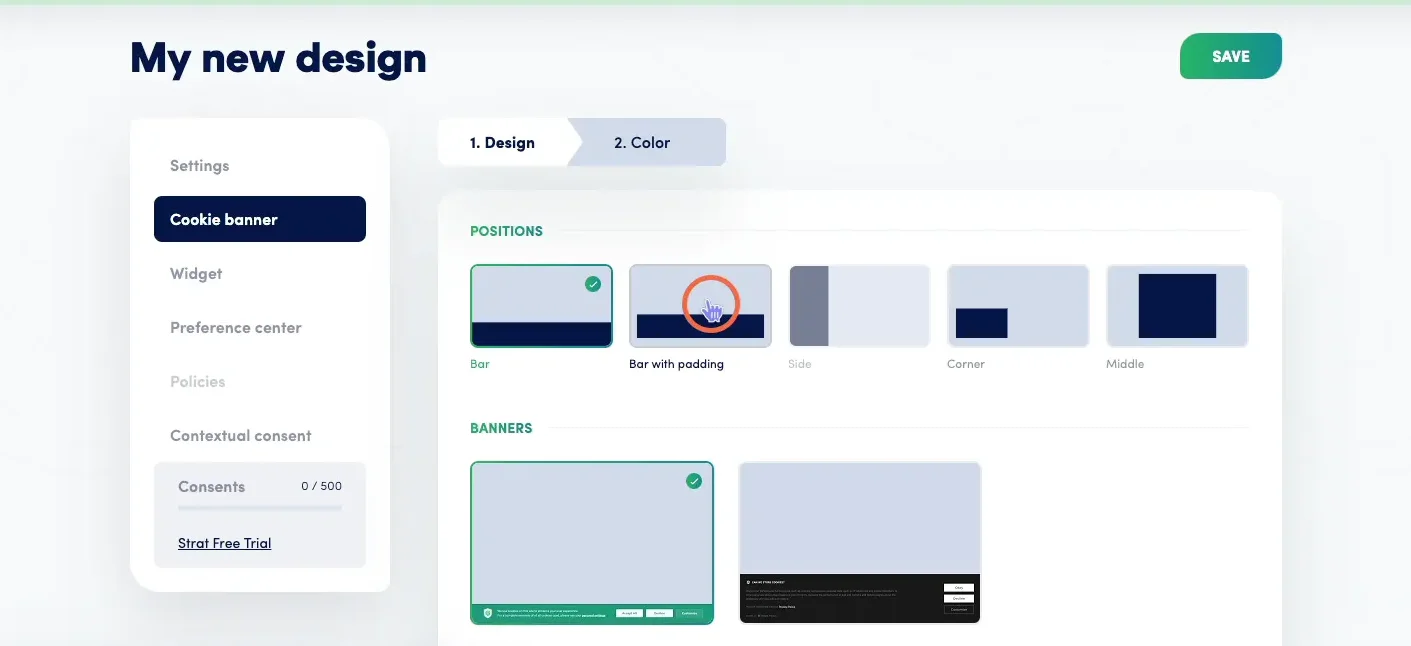
In your design's settings, navigate to the Cookie Banner section in the left sidebar. Two sub-sections are available:
Design tab: Controls where and how the cookie banner appears on your website — including banner position (bar, corner, or middle), padding style, and the option to add custom CSS for advanced styling.
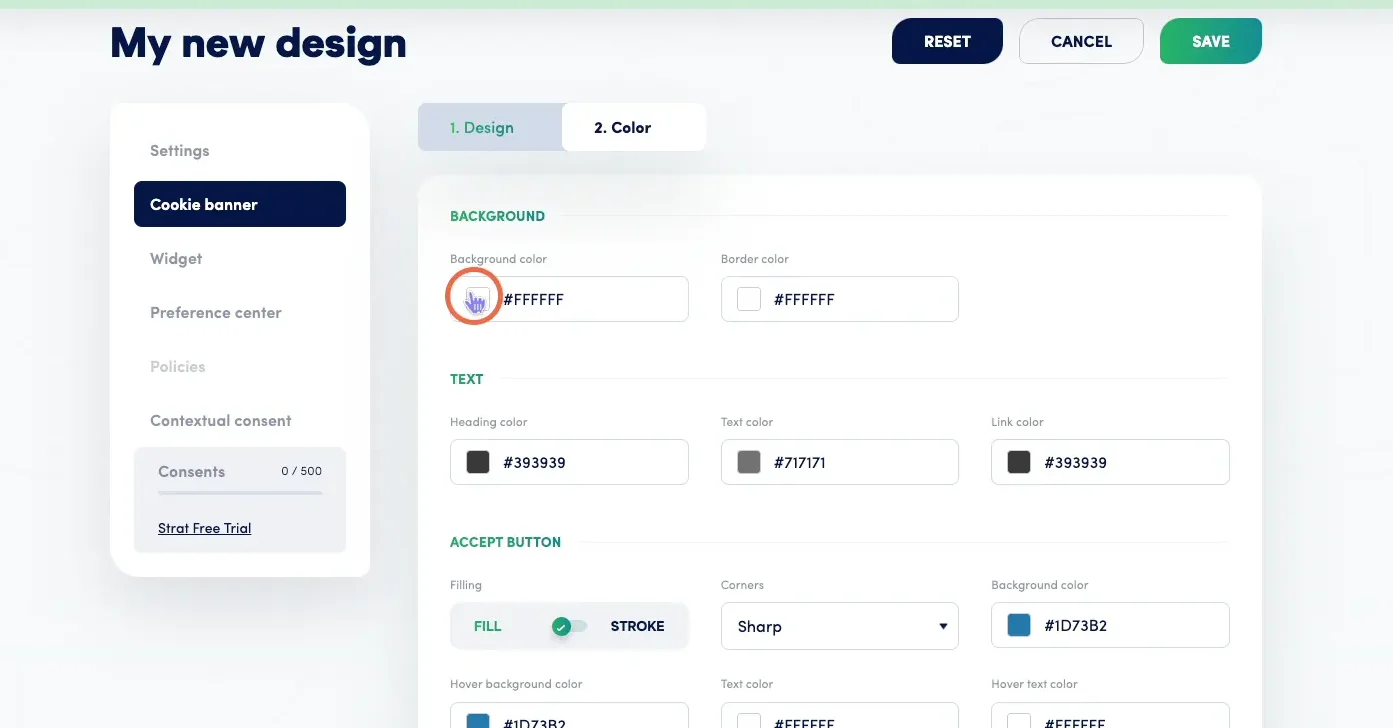
Color tab: Allows you to set banner background color, text colors, button colors, hover states, and border colors to match your brand palette.
Step 3: Customize Your Widget
Open the Widget section in the left sidebar to configure the privacy widget that appears persistently on your website. The following widget types are available:
Floating: The most customizable option — configure the widget's type (icon, text, or icon + text), style, design (position, shape, logo), and color
Button: A simple, non-configurable button widget
Hyperlink: A minimal text link widget with no additional configuration

Step 4: Customize Your Preference Center
Open the Preference Center section to configure how the privacy preference center appears to visitors. Available settings include enabling or disabling the preference center, customizing tab names (Settings, Privacy Policy, Cookie Declaration, Data Request), editing cookie category names and descriptions, and updating button and UI string labels — all configurable per language.
Frequently Asked Questions
Can I apply the same design to multiple domains?
Yes. When creating or editing a design, use the domain assignment selector to apply the configuration to one or more domains associated with your Secure Privacy account. Each domain can only have one design active at a time.
Can I have different cookie banner designs for different domains?
Yes. Create separate design configurations for each domain that requires a different visual setup, and assign each design to its respective domain in the domain selection panel.
Where can I find more detailed guidance on each design section?
Each design component has its own dedicated guide — see the See Also section below for links to the cookie banner design, widget configuration, preference center settings, and custom CSS guides.